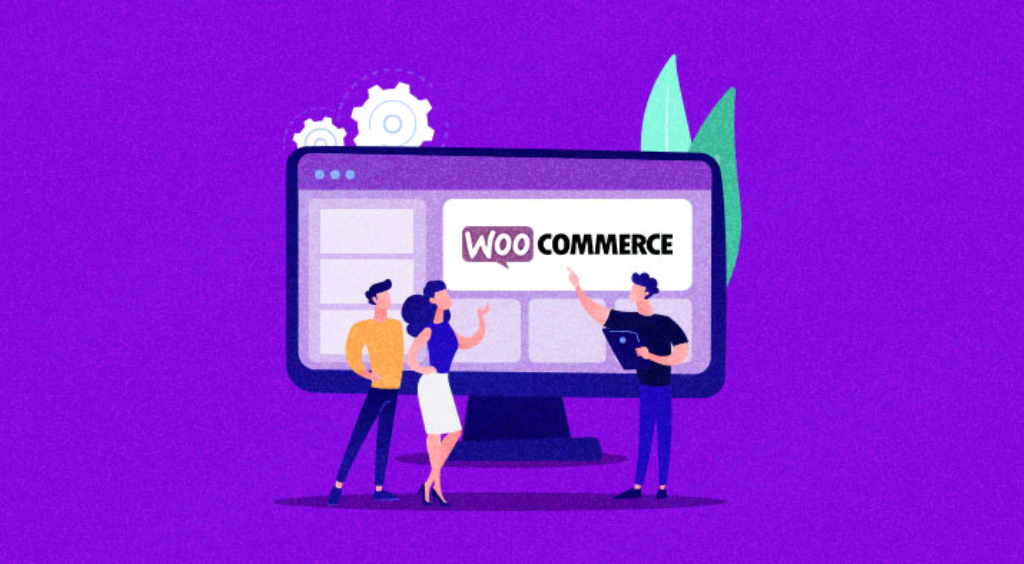
WooCommerce is a very Powerful E-commerce Plugin, It helps in creating and managing Online stores. It provides all the essential features and functionalities needed to sell products or services on your website.
How to install Plugins
- Installation: Installing a plugin is quite simple. You can search for plugins directly from your WordPress dashboard by going to “Plugins” > “Add New.” From there, you can browse the WordPress Plugin Directory or upload a plugin file if you have downloaded it from another source.
- Activation: Once you have installed a plugin, you need to activate it for it to start working on your website. After activation, you may need to configure the plugin settings depending on its requirements.
- Customization: Most plugins provide options and settings that allow you to customize their behavior and appearance. These settings can typically be accessed through the “Plugins” menu in your WordPress dashboard.
- Updates: Plugin developers often release updates to improve functionality, fix bugs, or address security vulnerabilities. It is essential to keep your plugins updated regularly to ensure compatibility and maintain the security of your website.
WordPress offers both free and paid Plugins. Free Plugins are mostly developed and maintained by Open source dev’s and generally well supported but may have limited features whereas Premium plugins often come with dedicated support and additional features.
Using Plugins can greatly enhance your website but installing too many of them can slow down your website’s performance and may increase the risk of conflicts and security vulnerabilities.
To create online store using WooCommerce, follow these steps:
Step 1: Install and Activate WooCommerce
- Log in to your WordPress dashboard.

- Navigate to “Plugins” > “Add New. “Search for “WooCommerce.”

- Click on the “Install Now” button next to the WooCommerce plugin.

- Once installed, click on the “Activate” button.

Step 2: Run the WooCommerce Setup Wizard
- After activating WooCommerce, you will be prompted to run the setup wizard. Click on the “Run the Setup Wizard” button.

- The wizard will guide you through essential settings for your online store.
Step 3: Configure Store Details

- In the setup wizard, enter your store’s location, currency, and units of measurement.
- Choose whether you want to sell physical or digital products or both.
- Indicate if you plan to offer shipping or only provide local pickup.
Step 4: Choose Payment Methods

- Select the payment methods you want to offer to customers. By default, PayPal and Stripe are available options.
- Set up each payment method by providing necessary details like API keys or account information.
Step 5: Configure Shipping Options

- Choose how you want to handle shipping. You can set up flat-rate shipping, free shipping, or use real-time rates from carriers like USPS or FedEx.
- Configure shipping zones based on geographical areas and set rates accordingly.
Step 6: Customize Store Design

- Select a suitable WordPress theme that is compatible with WooCommerce. You can choose from free themes available in the WordPress theme repository or purchase a premium theme specifically designed for e-commerce.
- Customize your chosen theme’s appearance by going to “Appearance” > “Customize.” Modify colors, fonts, layouts, and other design elements as desired.
Step 7: Add Products
- To add products, go to “Products” > “Add New.”

- Enter a title for the product and provide a detailed description.

- Set the price, SKU (Stock Keeping Unit), and stock status (in stock, out of stock, etc.).

- Configure other product details like categories, tags, images, variations (if applicable), and more.

Step 8: Set Up Additional Store Settings
- Go to “WooCommerce” > “Settings” to configure tax options, manage inventory, set up coupons or discounts, enable reviews, and more..
Step 9: Test Your Store
- Before launching your store, thoroughly test the purchasing process.
- Place test orders to ensure that payments are processed correctly and that shipping calculations work as expected.
- Check email notifications and other essential aspects of the buying experience.
Step 10: Launch Your Online Store
- Once you are satisfied with your store setup and testing is complete, it’s time to launch your online store!
- Promote your store through various channels like social media, email marketing, SEO optimization, etc., to attract customers.
Congratulations on completing this guide! By following the steps outlined, you have acquired the knowledge and skills necessary to utilize WooCommerce’s powerful tools and extensions in order to establish a thriving online business. It doesn’t matter if you’re just starting out or if you’ve already dipped your toes into the entrepreneurial world – WooCommerce offers a user-friendly interface that enables you to customize your store, showcase your products, and reach customers from all corners of the globe.
One of the most remarkable aspects of WooCommerce is its wide array of themes and plugins. This means that you have endless possibilities when it comes to creating online stores that are not only unique but also visually captivating. From designing attractive product pages to implementing effective marketing strategies, WooCommerce equips you with the necessary tools to stand out amidst the fierce competition in the e-commerce landscape.
We genuinely hope that this guide has provided you with valuable insights into harnessing WooCommerce’s full potential for your business. It is crucial to remember that optimizing your store for search engines, providing exceptional customer support, and consistently analyzing data are key factors in making informed decisions that drive growth.
For a comprehensive list of the most popularly used plugins, I recommend checking out this informative blog post. Click here